Keeping Time in the Dark: Adding an External RTC to My Pwnagotchi

One of the few quirks of the Raspberry Pi Zero 2 W—the brain of my Pwnagotchi—is its lack of a Real-Time Clock (RTC). Without an internet connection to sync via NTP, the Pwnagotchi forgets the time every time it reboots. This leads to messy logs and "back to the future" timestamps on your handshakes.
I decided to fix that by hard-wiring a dedicated RTC module directly to the GPIO pins. Here’s how I went from a bulky fail to a sleek, soldered success.
The Search for the Right Fit
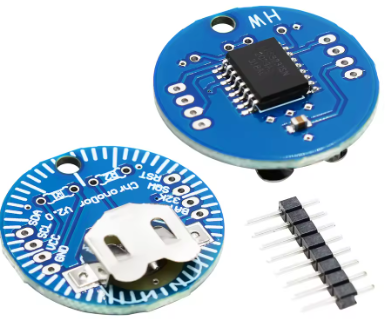
My first attempt was with the ChronoDot v2.0. While it’s a high-precision beast, I quickly realized it was way too big for a portable build. Pwnagotchi setups are all about "pocketability," and the ChronoDot made the unit look like it had a sidecar.
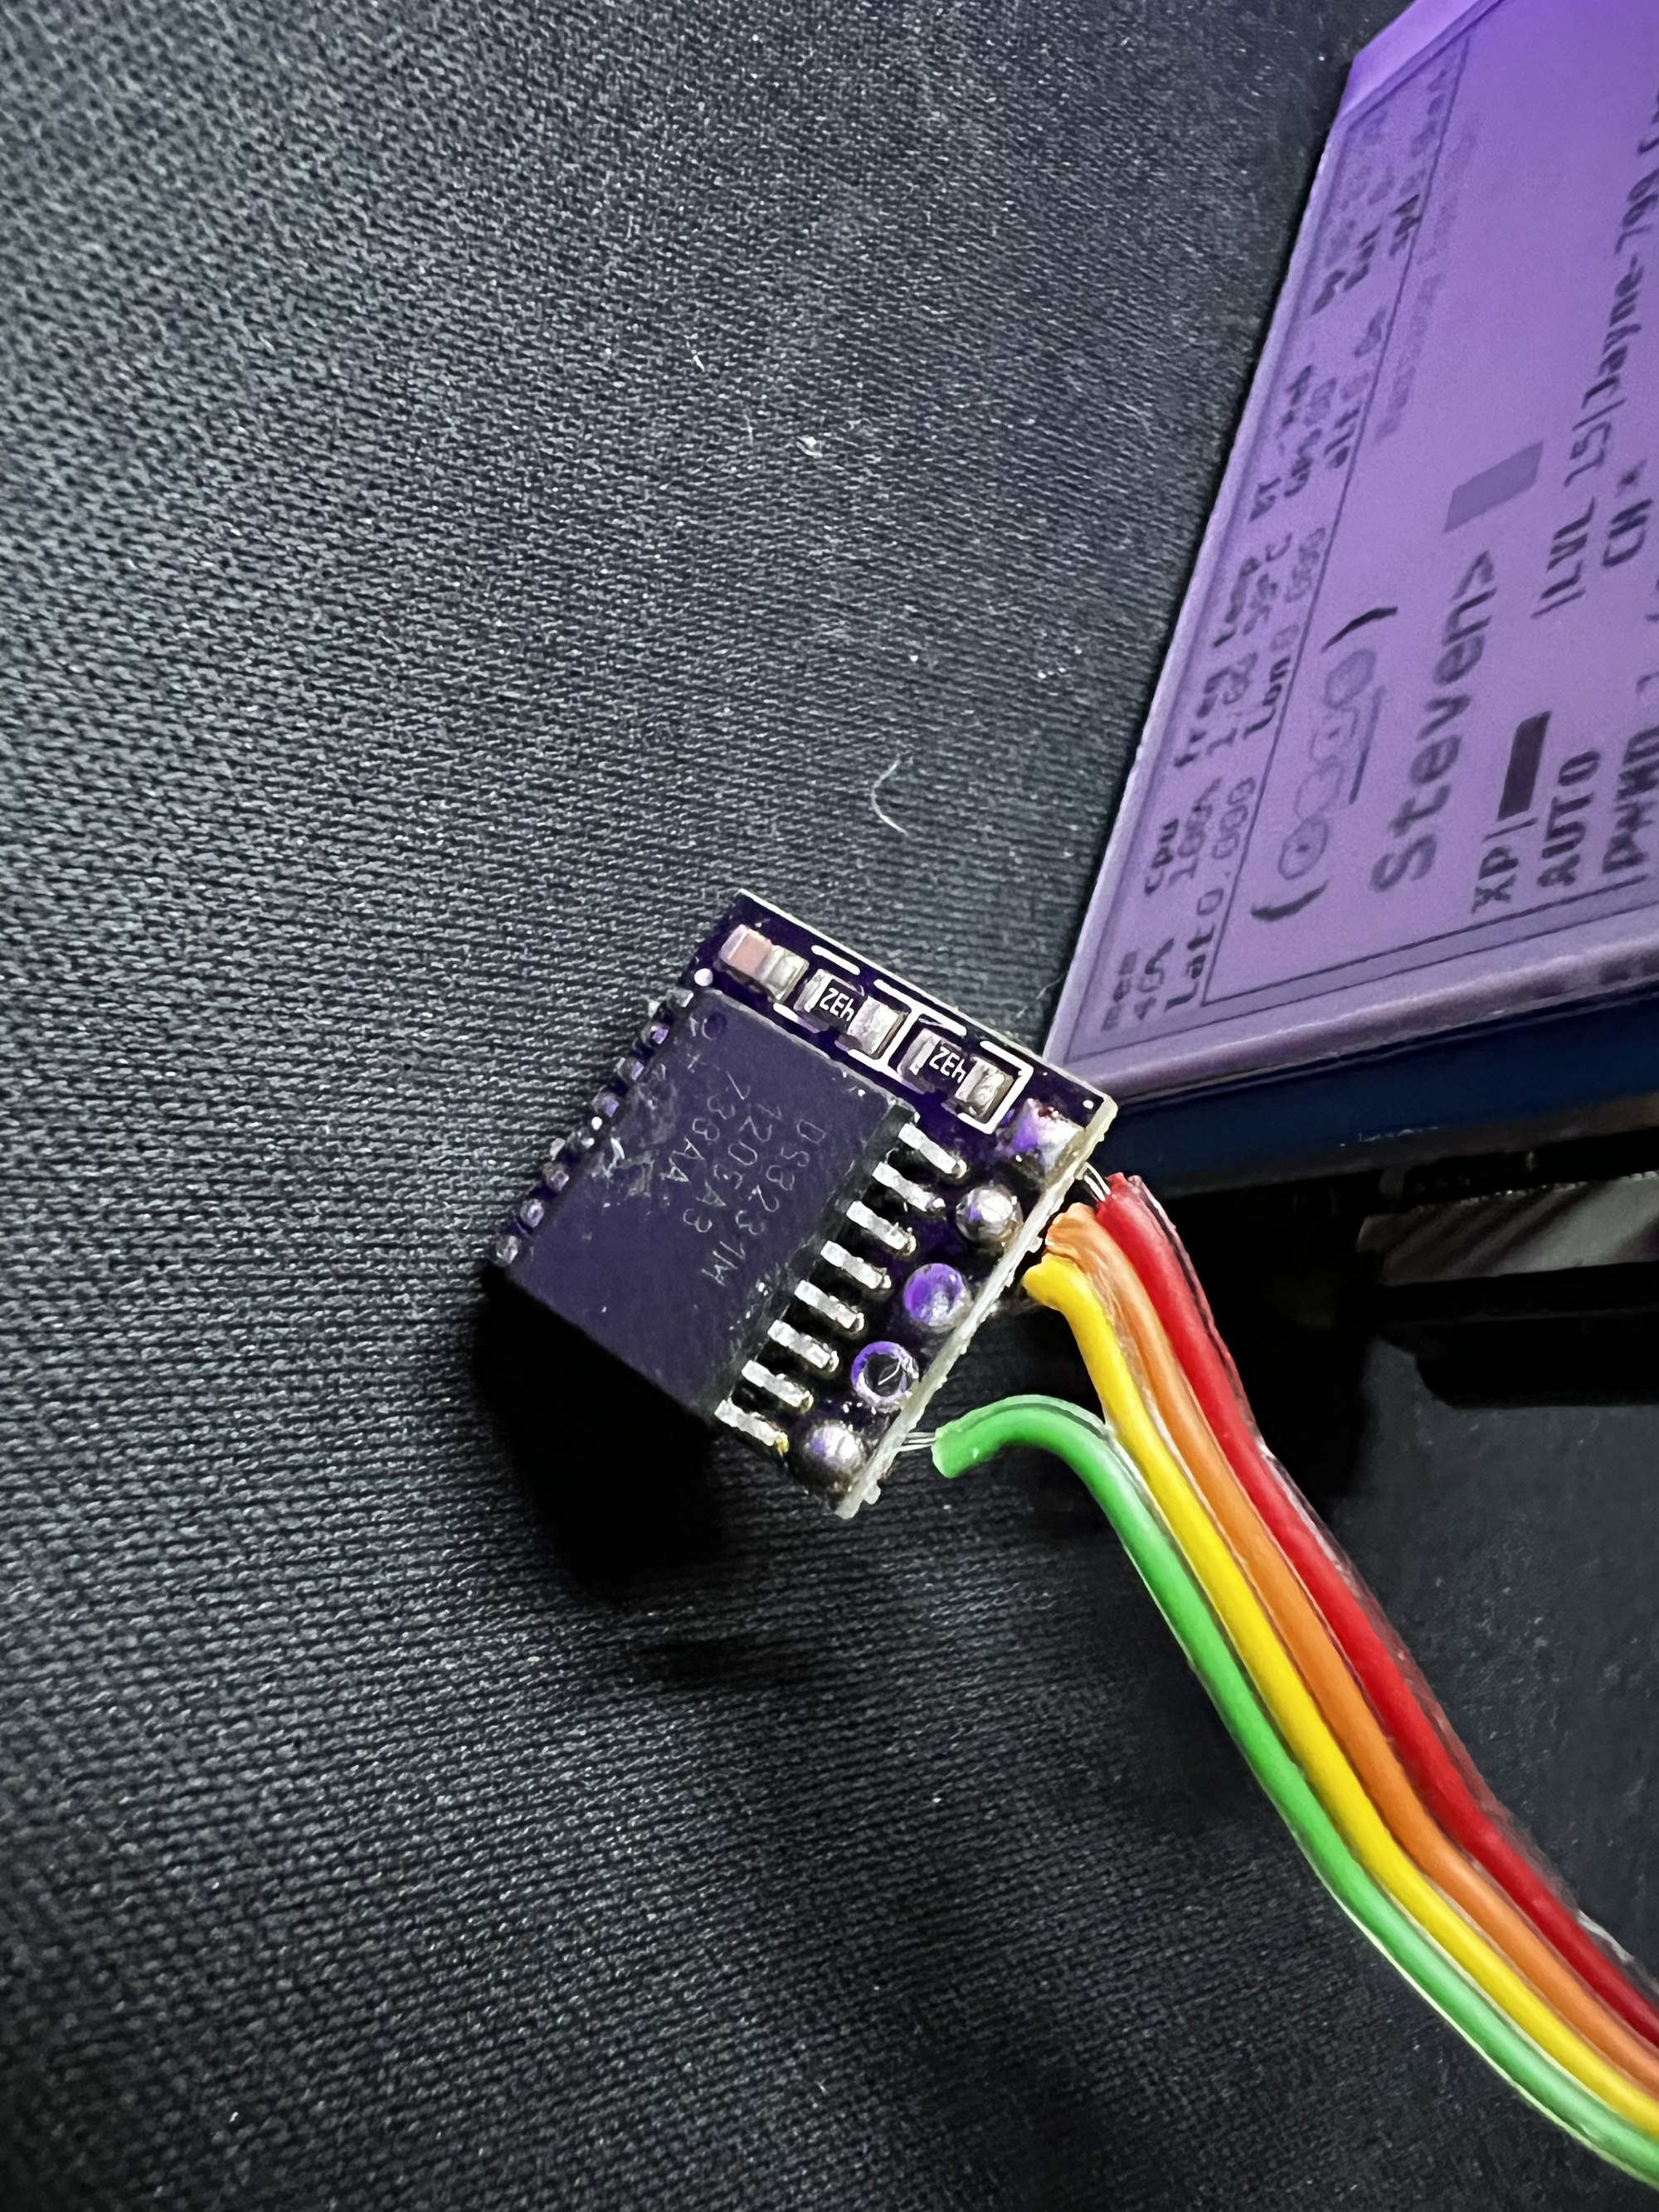
I eventually settled on the DS3231 Precision RTC Clock Module from Amazon. It’s tiny, uses the same high-accuracy chip, and—crucially—fits perfectly under the e-ink display once you modify it.

The Hardware Prep
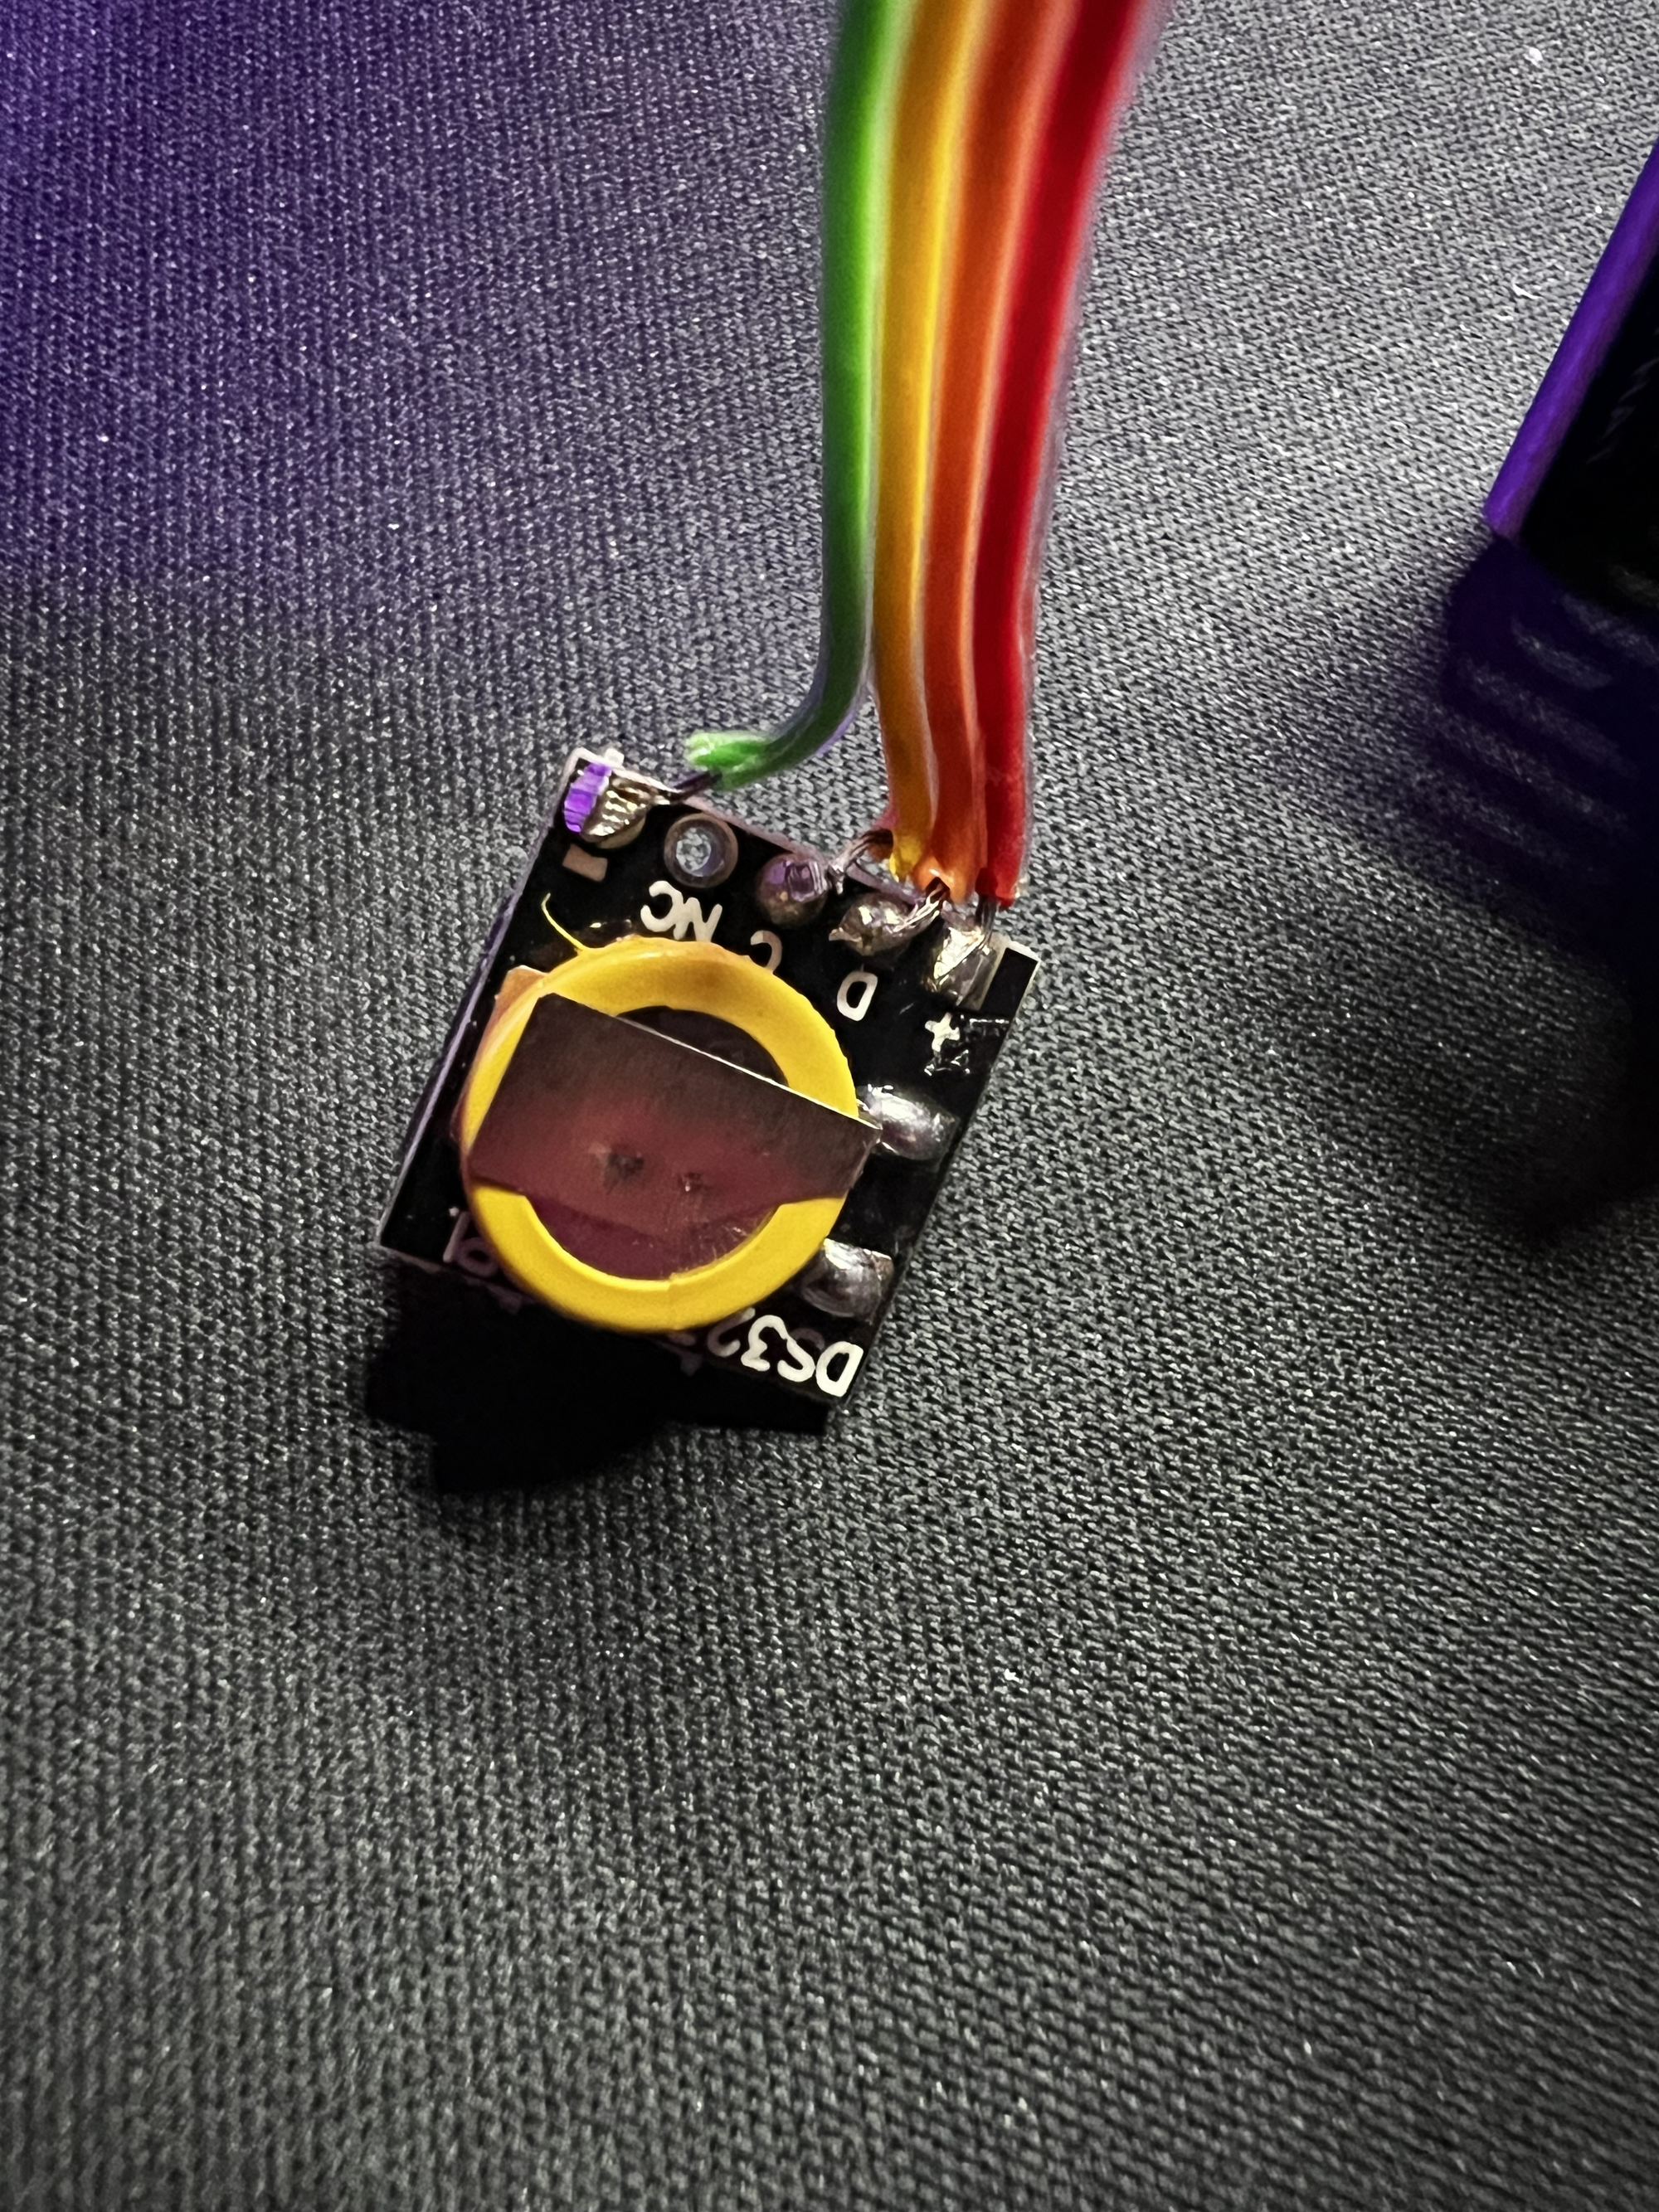
The module usually comes with a female header pre-installed. To keep the profile as slim as possible, I used a soldering iron and a solder sucker to remove the female header pins.
Once the pins were out, I had a flat PCB ready for some "internal" wiring.

The Install: Under-the-Hood Soldering
To keep the GPIO pins free for the Waveshare display, I chose to solder the RTC wires directly to the underside of the Raspberry Pi Zero 2 W GPIO pads.
Wiring Map
I used thin, color-coded ribbon cable to connect the four essential pins:
| RTC Pin | Pi GPIO Pin (Physical) | Function |
| VCC | Pin 1 | 3.3V Power |
| GND | Pin 9 (or any Ground) | Ground |
| SDA | Pin 3 | I2C Data |
| SCL | Pin 5 | I2C Clock |
Pro Tip: Keep your wires short! Long wires can introduce interference and make it harder to close your Pwnagotchi case.
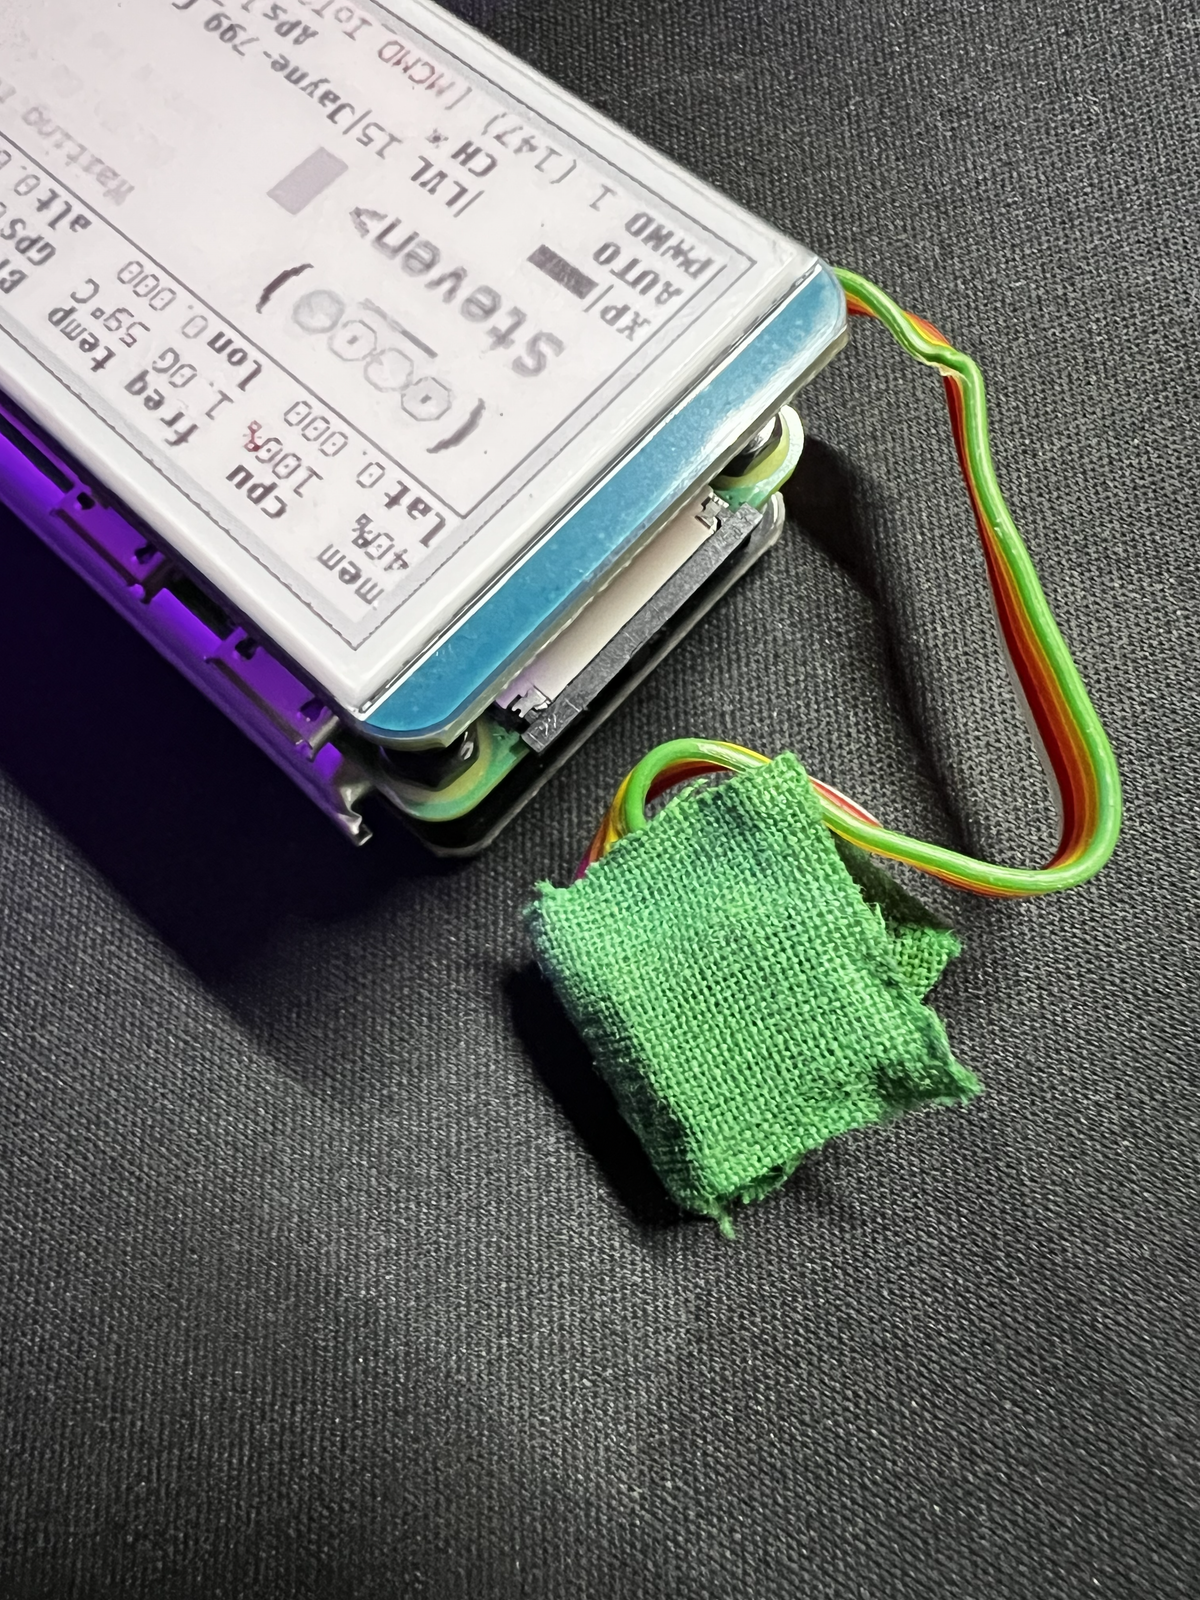
I tucked the module neatly away and secured it with a bit of green field hockey-stick tape to prevent any shorts against the Pi's components. It’s not pretty inside, but it’s solid.
Software Configuration
Once the hardware was in, I had to tell the Pwnagotchi (and Raspbian) to look for the new clock.
- Enable I2C: Run
sudo raspi-configand enable I2C under Interface Options.
Sync the Clock: Reboot, then set the hardware clock from the system time once:Bash
sudo hwclock -w
Edit Config: Open the boot config file:Bash
sudo nano /boot/config.txt
Add this line to the end:Plaintext
dtoverlay=i2c-rtc,ds3231
The Result
Now, every time "Steven" (my Pwnagotchi) wakes up, he knows exactly what time it is. No more messy logs, and the build remains incredibly slim despite the added hardware.
If you're tired of 1970 timestamps on your pcap files, this $10 upgrade is a total game-changer.